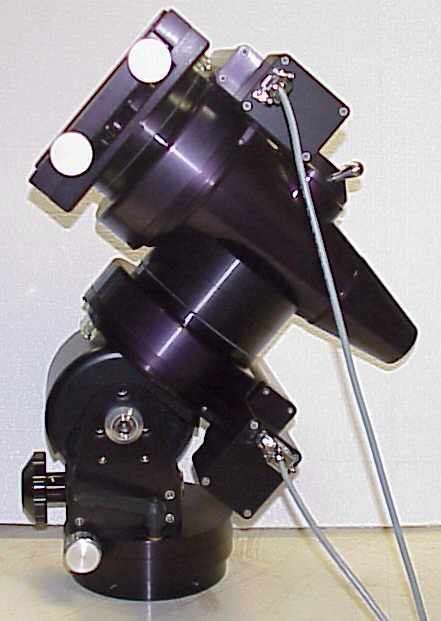
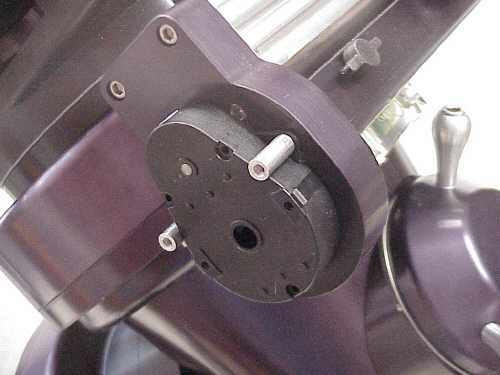
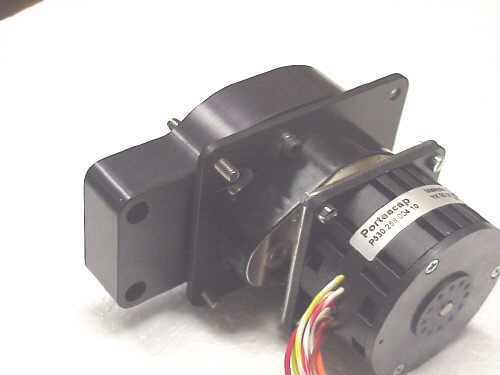
Here you see a Losmandy Titan mount after installing high quality stepper motors.
ASTRO ELECTRONIC
Dipl.-Ing. Michael Koch
Raabestr. 43 D-37412 Herzberg Germany
Tel: +49 (0)5521 854265 Fax: +49 (0)5521 854266www.astro-electronic.de e-mail
|
Hier
sehen Sie eine Losmandy Titan Montierung nach dem Umbau auf hochwertige
Schrittmotore.
Here you see a Losmandy Titan mount after installing high quality stepper motors. |
 |
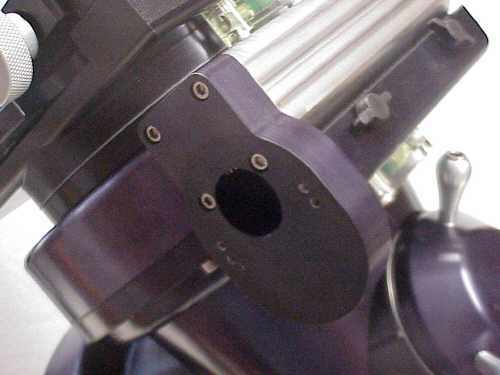
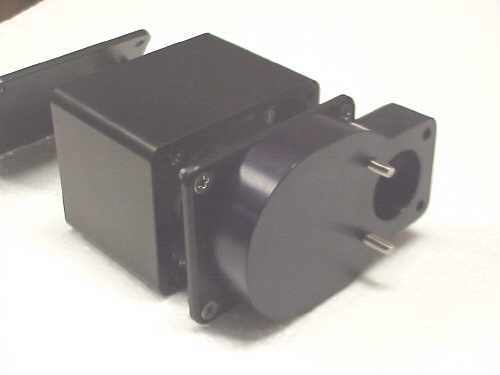
Motor-Set
für Losmandy Titan Montierung
Dieses
Set enthält alle benötigten Teile um eine Losmandy Titan Montierung
auf hochwertige Schrittmotore umzubauen:
Motor kit for Losmandy Titan mount This
kit contains all parts that are required for modifing a Losmandy Titan
mount with high quality stepper motors:
|
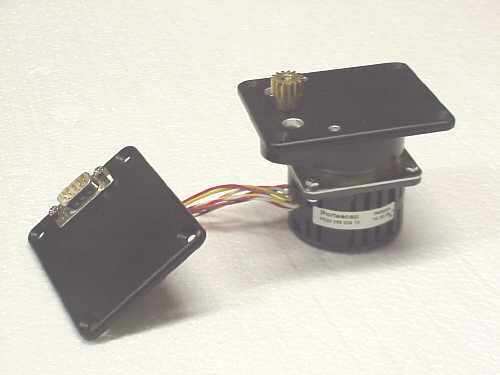
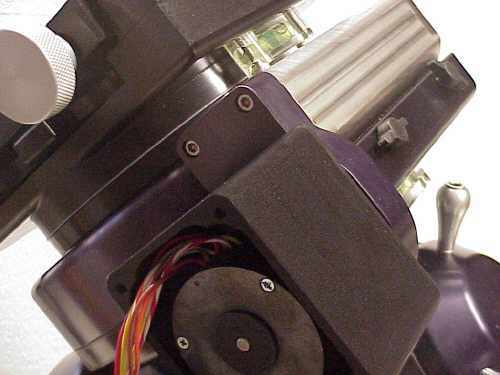
Wie
man die Motore montiert:
How
to mount the new motors:
 |
1.
Entfernen Sie den Original-Motor mit einem 3/32" Innensechskant-Schlüssel.
1. Remove the orignal motor with a 3/32" hex key |
 |
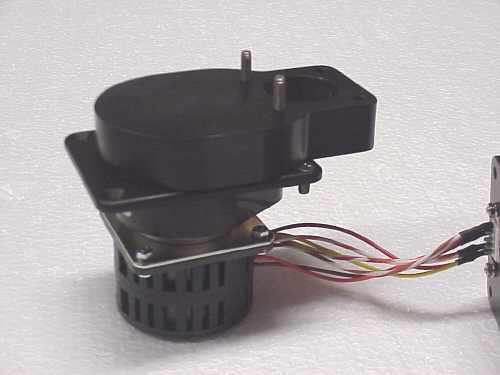
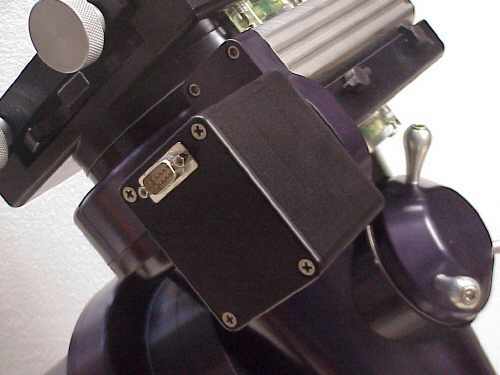
2. Entfernen Sie die Getriebe-Abdeckung mit einem 5/64" Innensechskant-Schlüssel 2. Remove the gearbox cover with a 5/64" hex key |
 |
3.
Entfernen Sie die beiden Alu-Distanzhülsen mit einer Zange
3. Remove the two aluminium distance bolts with nippers |
 |
4.
Entfernen Sie die beiden Madenschrauben mit einem 1/16" Innensechskant-Schlüssel
4. Remove the two threaded bolts with a 1/16" hex key |
 |
5.
Entfernen Sie auch die zweite Getriebe-Abdeckung mit einem 9/64" Innensechskant-Schlüssel.
5. Remove the second gear cover too with a 9/64" hex key |
 |
6.
Legen Sie die schwarze Alu-Platte auf den neuen Motor, und befestigen Sie
dann das Messing-Ritzel auf der Abtriebswelle des Getriebes. Verwenden
Sie dazu einen 1.5mm Innensechskant-Schlüssel.
6.
Put the black aluminium plate on the new motor, and fasten the brass pinion
with a 1.5mm hex key
|
 |
7.
Stecken Sie zwei M4x10 Senkkopf-Schrauben in die Alu-Platte. Stecken Sie
zwei von den langen zölligen Schrauben durch die Getriebe-Abdeckung,
wie im Bild gezeigt. Legen Sie dann die Getriebe-Abdeckung auf den Motor.
7.
Put two M4x10 flat head screws ito the aluminium plate.
|
 |
8.
Befestigen Sie den Motor mit zwei UNC 6-0.35" Innensechskant-Schrauben.
Verwenden Sie hierfür einen 7/64" Innensechskant-Schlüssel.
8. Fasten the motor with two UNC 6-0.35" hex screws. Use a 7/64" hex key for fastening the screws. |
 |
9.
Befestigen Sie den mittleren Teil des Gehäuses mit vier M4x20 Senkkopf-Schrauben.
9. Fasten the middle part of the housing with 4 M4x10 flat head screws. |
 |
10.
Befestigen Sie die den Motor mit den vier langen zölligen Schrauben
an der Montierung. Zwei der Schrauben sind durch das noch geöffnete
Motor-Gehäuse erreichbar.
10.
Attach the motor to the mount, and fix it with the 4 original screws. Two
of them are accessible througt the still open housing.
|
 |
11.
Schliessen Sie das andere Gehäuse mit der Abdeckplatte und vier M4x10
Senkkopf-Schrauben.
11. Close the housing with 4 M4x10 flat head screws. |
 |
Neben
dem Motor-Set benötigen Sie nur noch eine FS2. Die maximale Schwenk-Geschwindigkeit
hängt davon ab, welche FS2 Version Sie verwenden:
Besides
the motor kit you need only a FS2. The maximum slewing speed depends on
which FS2 version you use:
|